Sewing Two Pieces of Fabric Together
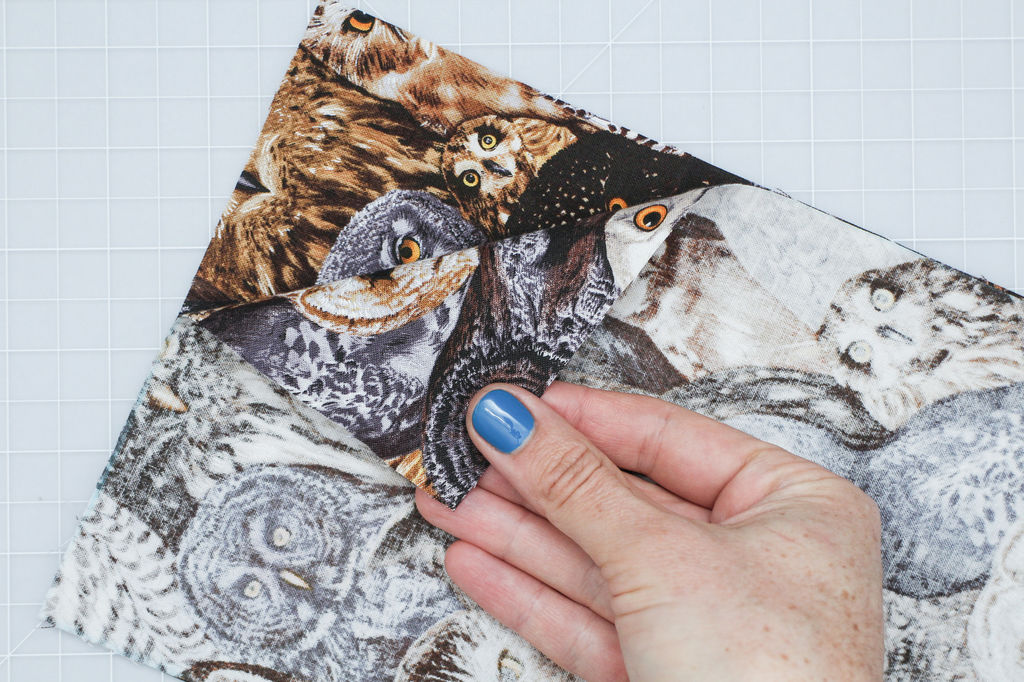
The first step of sewing two pieces of printed fabric together is determining which is the front and back. The front will be the side with the most vivid colors. When marking fabric, always mark the back, or the part no one will see (as in the picture).
Take two squares of printed fabric with the front pieces face-to-face, so if you flip it over, you only see the back of the printed fabric. See the example image.
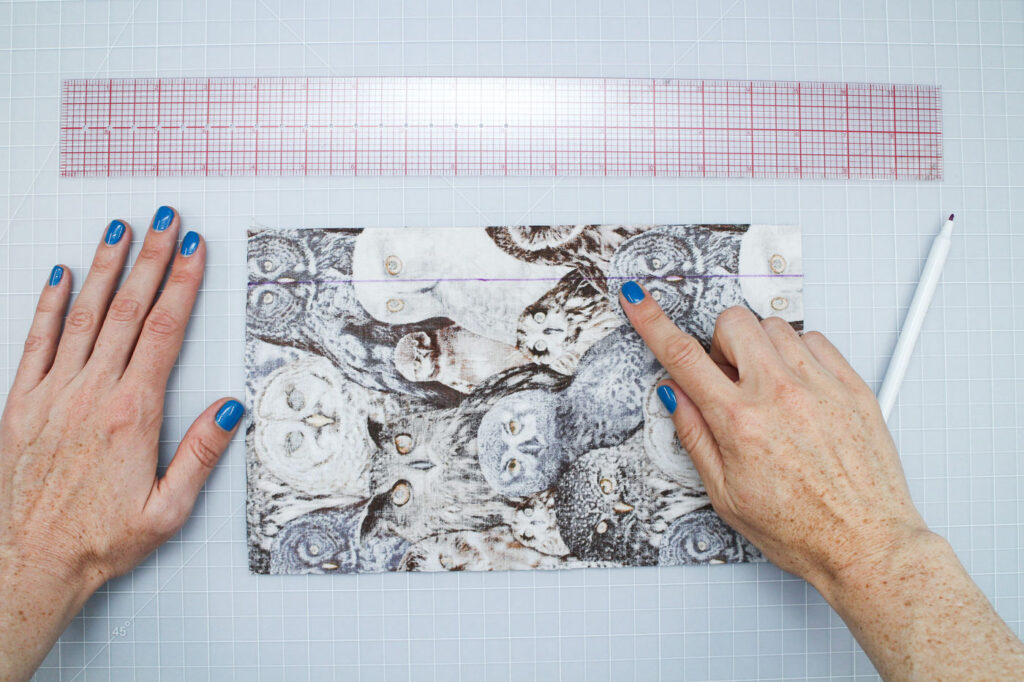
Next, you’ll create a seam allowance. The seam allowance is space between the edge of the fabric and the stitching line. Depending on what you are sewing, seam allowances can be anywhere from 1/4″ to 2″. In the image below, the seam allowance is 1”.
Use pins to hold the two pieces of fabric together. Your pins should be perpendicular to the sewing line with the pinheads facing the edge of the baric. The pins should go under the marked sewing line:
Slide the fabric into the machine so that the needle is about 1/4″ from the edge of the fabric at your line. Lower the presser foot and begin sewing. You can sew a few backstitches after your initial forward stitches to lock the thread. When you get to your pins, take them out before you sew over them.
When you reach the end of the line, sew a few more backstitches to lock the thread in place, then lift the presser foot, slide the fabric to the left, and use the thread cutter on the back of the machine to cut the threads.
All images come from “Sewing Straight Seams” by Mikaela Holmes in the Instructables Machine Sewing Class (licensed CC-BY-SA)