Loading the Cutting Mat
You’re almost ready to cut out your first item! Follow these steps to get ready:
- Get a piece of cardstock and a cutting mat. The cardstock will be in the cabinet, and the cutting mat will either be in the same cabinet, or next to the die cutters.
- Remove the blue cover from the cutting mat.
- Stick the cardstock to the cutting mat. First, make sure the black arrow is at the top of the cutting mat. Make sure the cardstock is in landscape format, and align the top left corner of the cardstock with the top left corner of the grid on the cutting mat. Press the cardstock to the cutting mat.
- Turn the die cutter on (the button is on the right side of the machine) and plug the laptop into the USB cable of the die cutter.
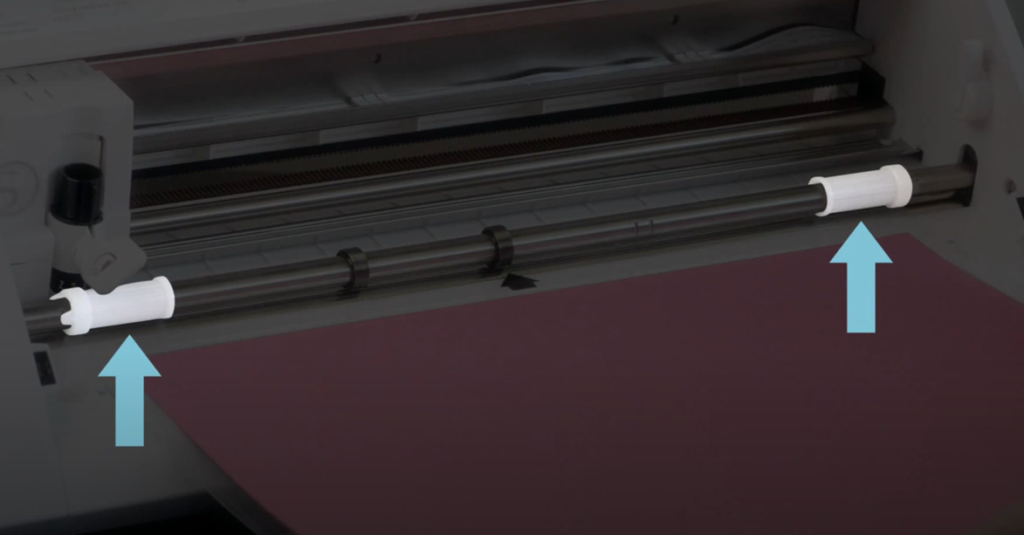
- Insert the cutting mat. The left side of the mat should line up with the blue line on the left (see below) and both sides of the mat should be stuck under the white rollers (see below).
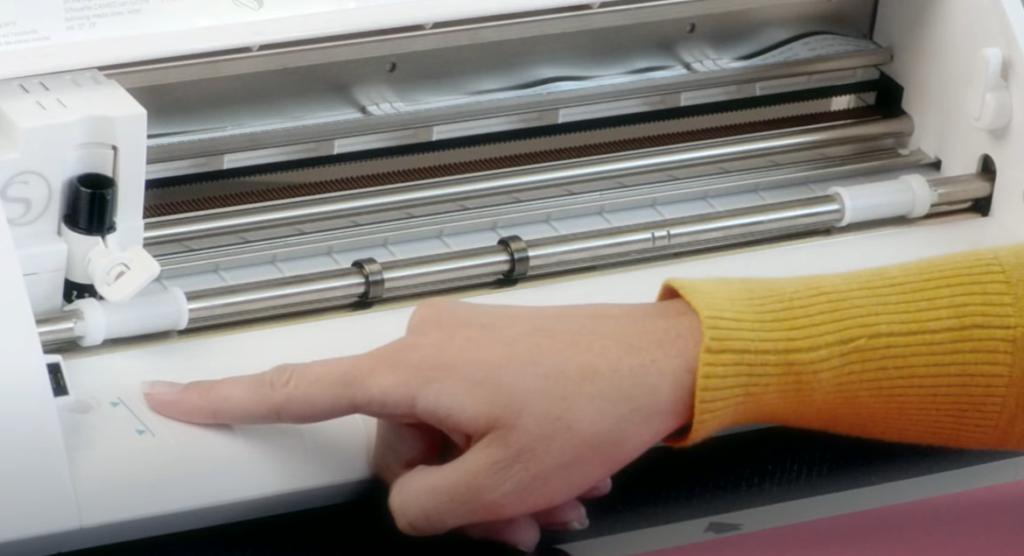
- Press the Load Cut Mat button on the touchscreen.
Now, you’re ready to cut. In the next lesson, you’ll download a digital design, open it in Silhouette Studio, and send it to the die cutter to cut and perforate.
(screenshots via)